 Service/help
 We are happy to advise you on the phone (only in German)

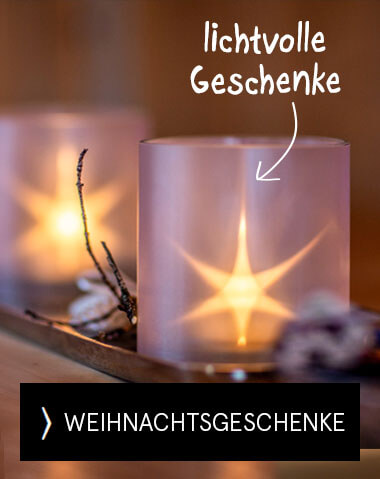
Design your own star-shaped candle holder!
In just a few simple steps, you can create a festive star-shaped candle holder from self-hardening clay. Roll out the clay, cut out the star shape and insert a candle – and your personalised candle holder is ready. After around 30 hours of drying time, it’s ready to use and will bring atmospheric light to the festive season.


Art. 12015

Art. 12151
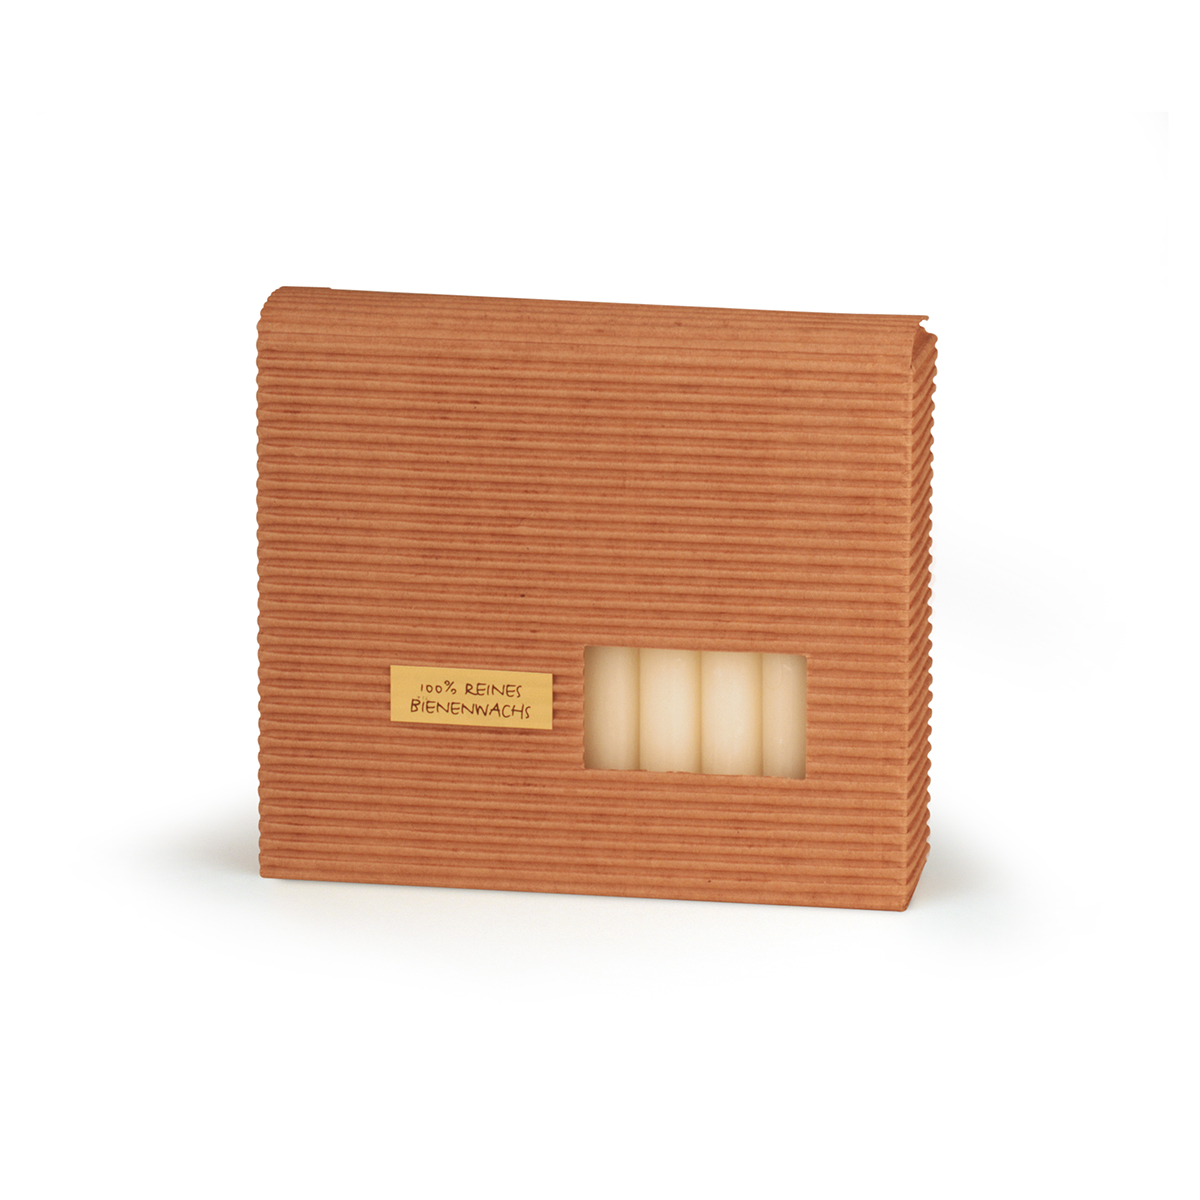
Art. 3326
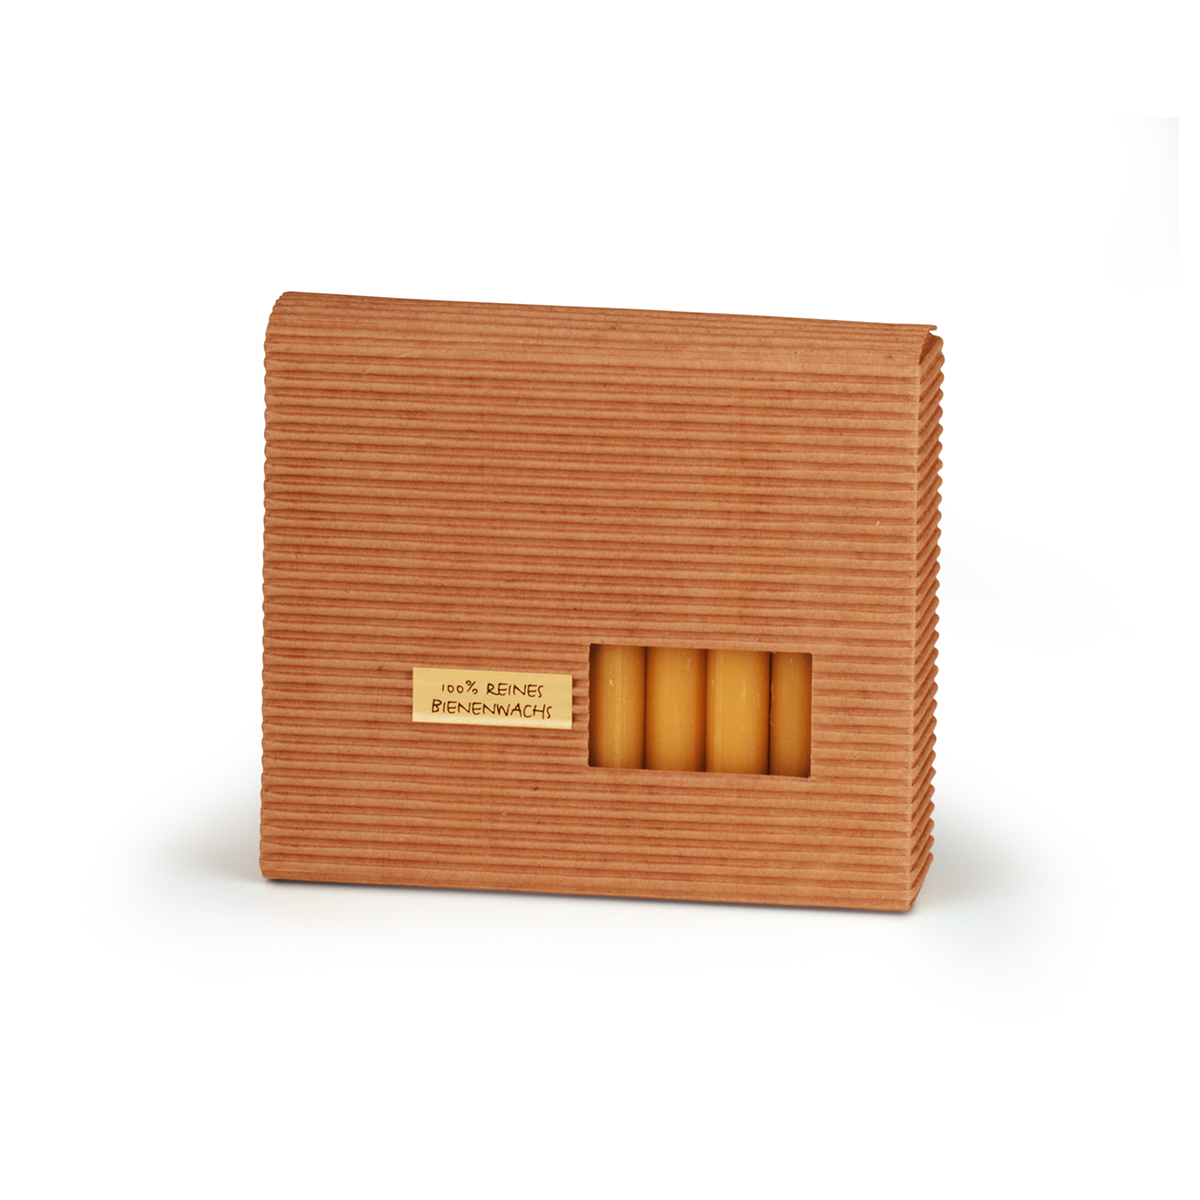
Art. 3325
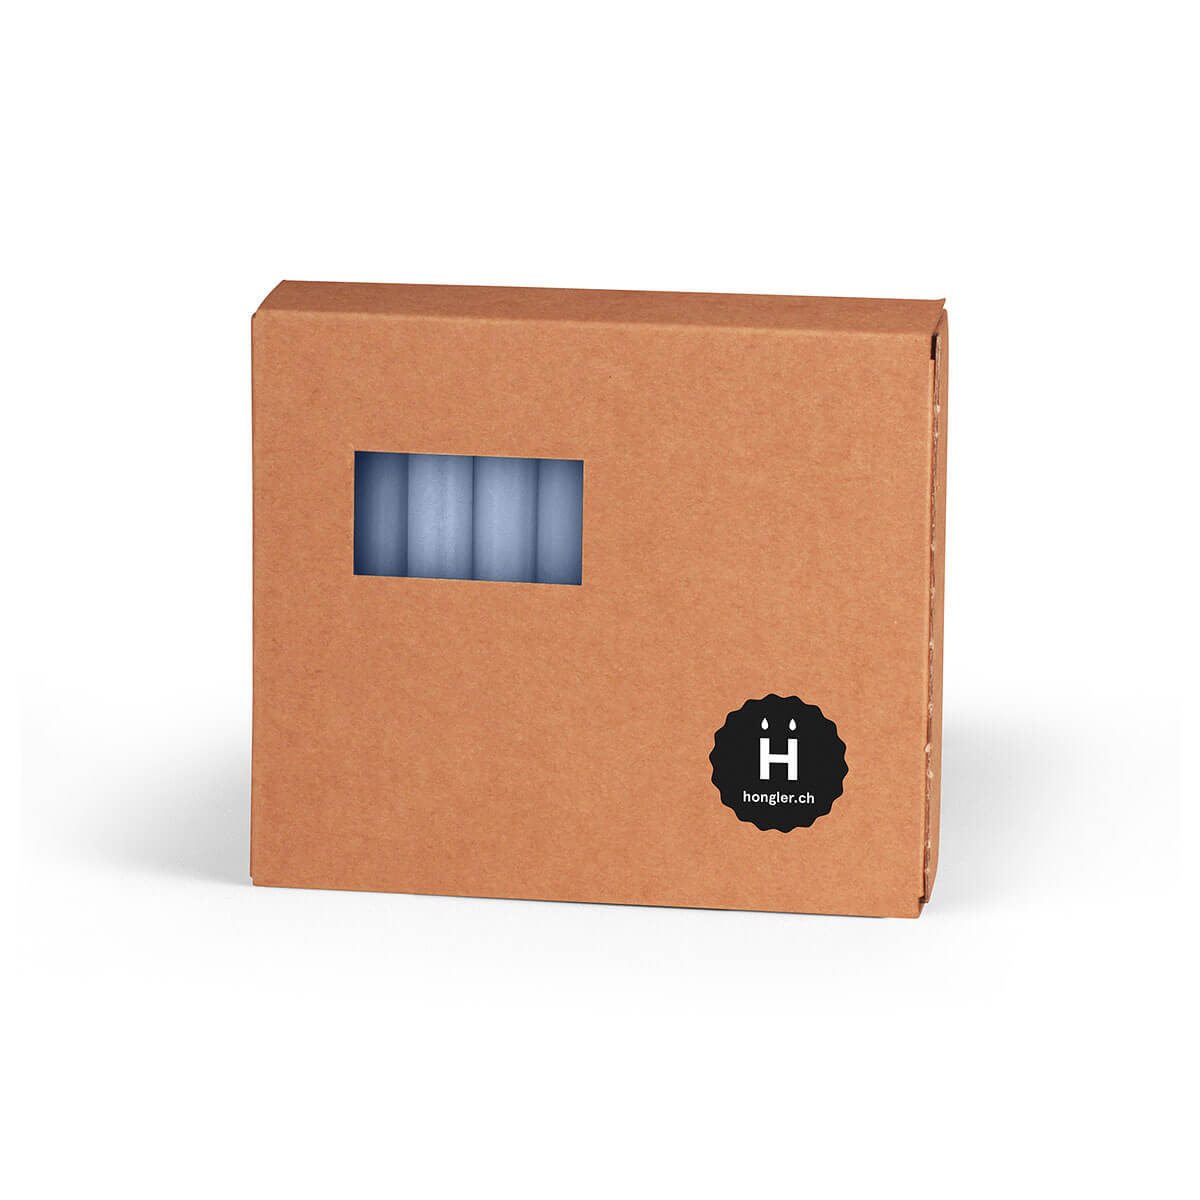
Art. 3285.14
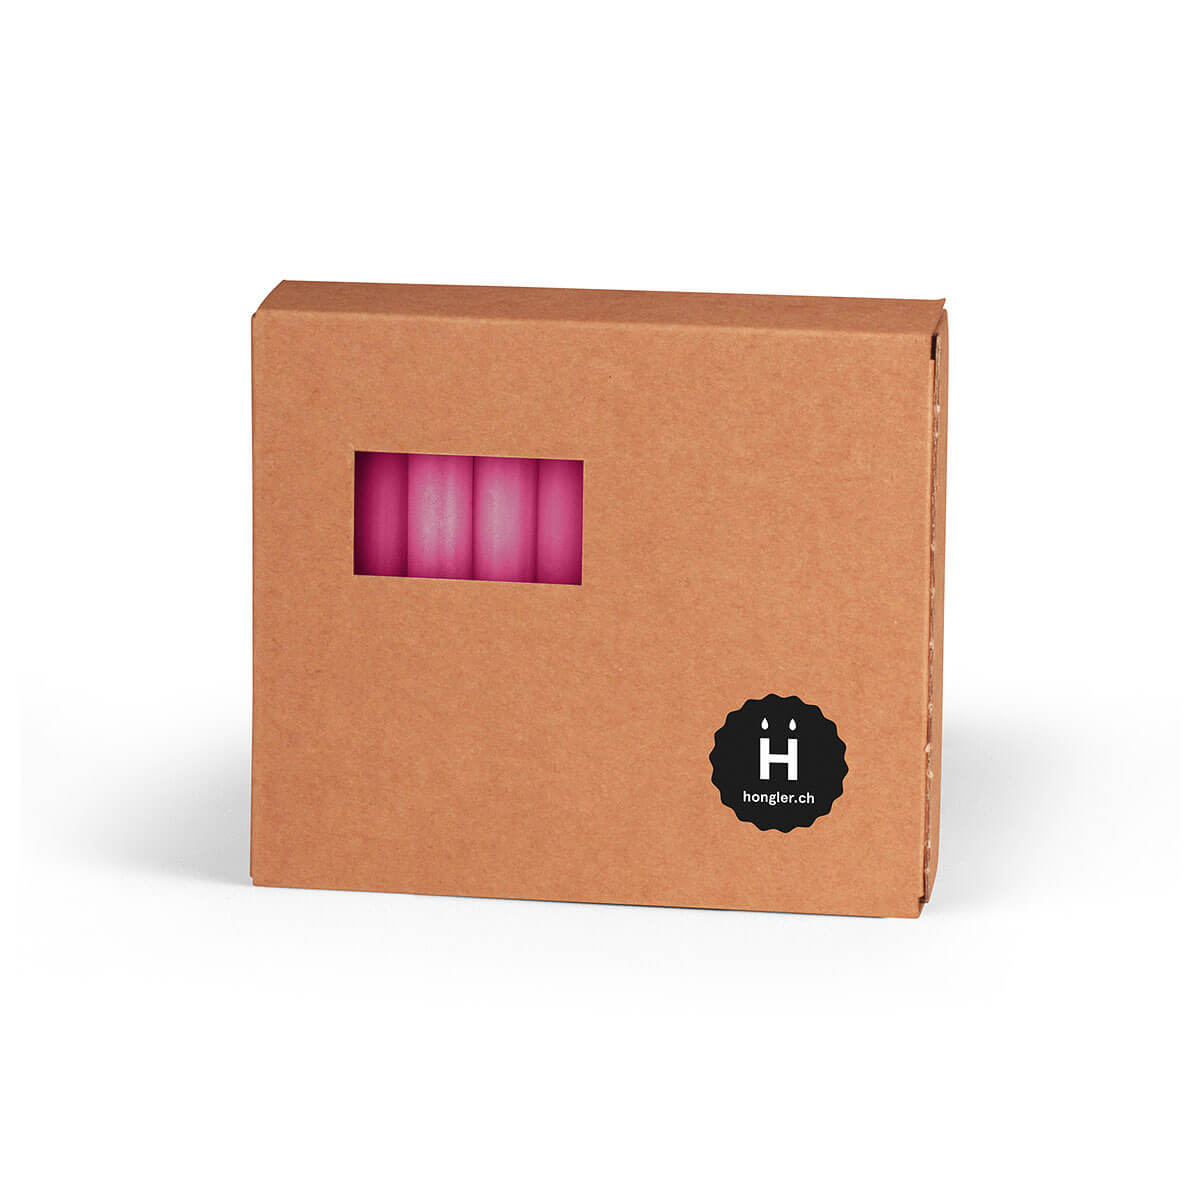
Art. 3285.24

Art. 3285.38

Art. 3285.23
Art. 3285.37
Art. 3285.26
Art. 3285M

Art. 3285.27
Art. 3285.13
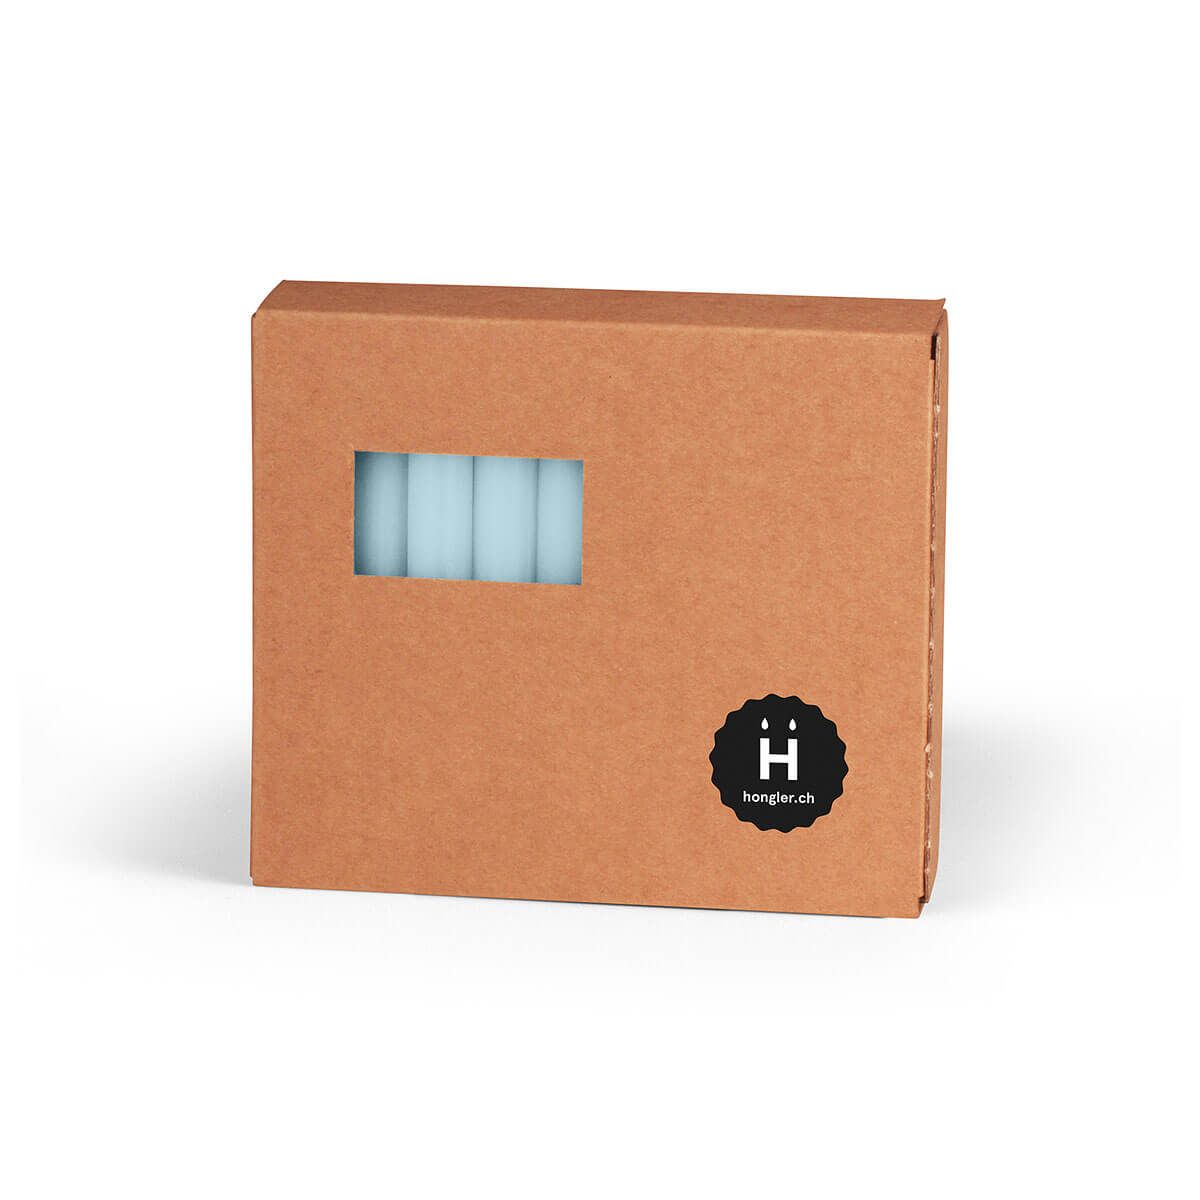
Art. 3285.29

Art. 3285.21
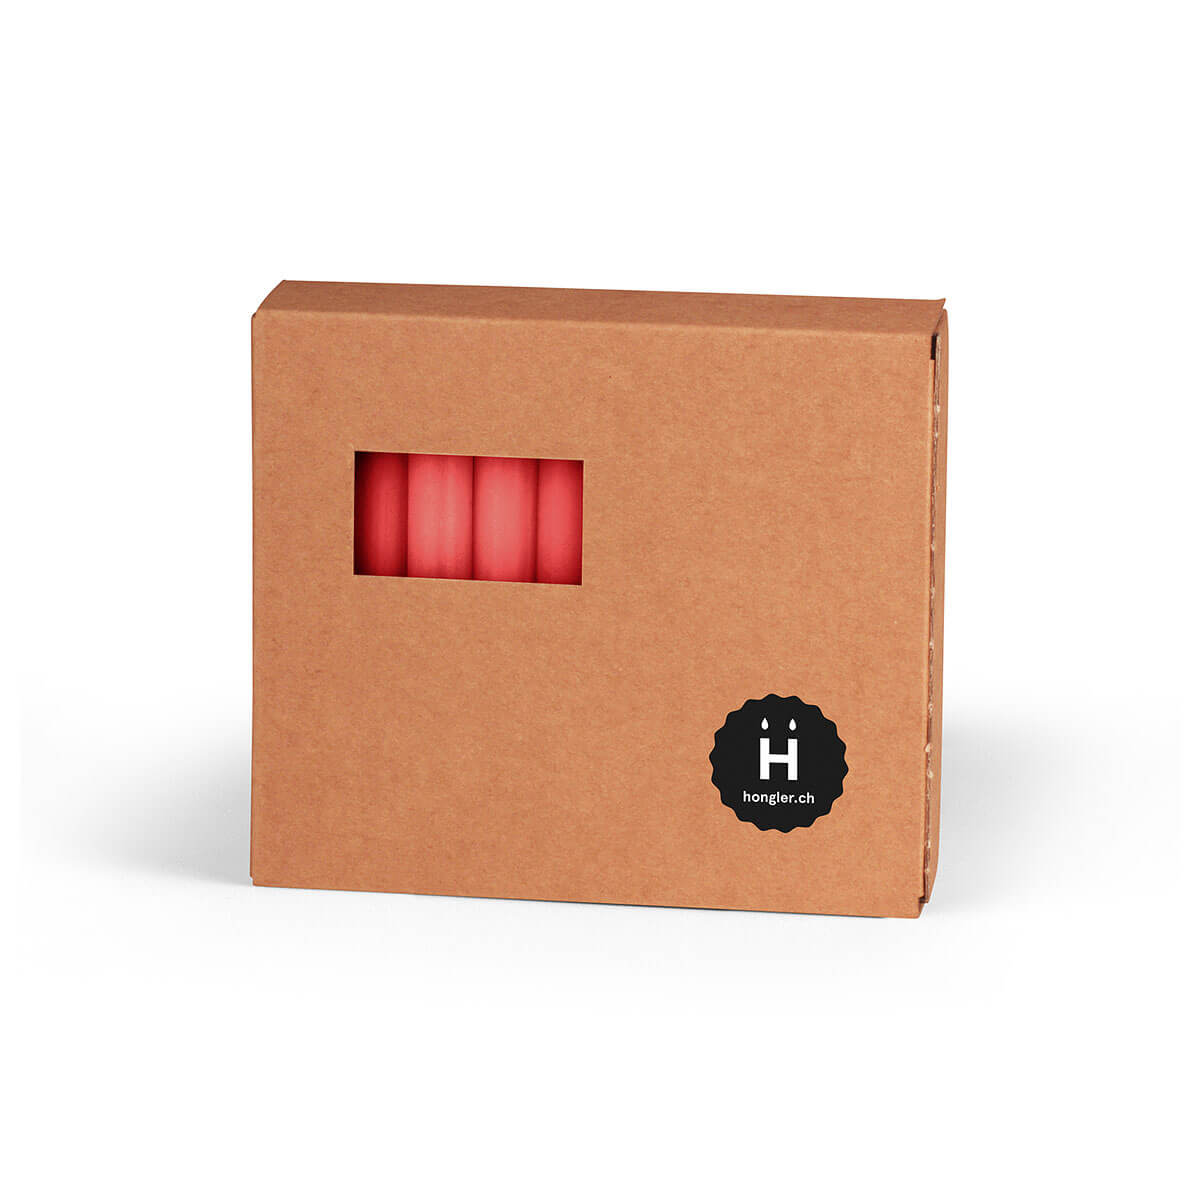
Art. 3285.41
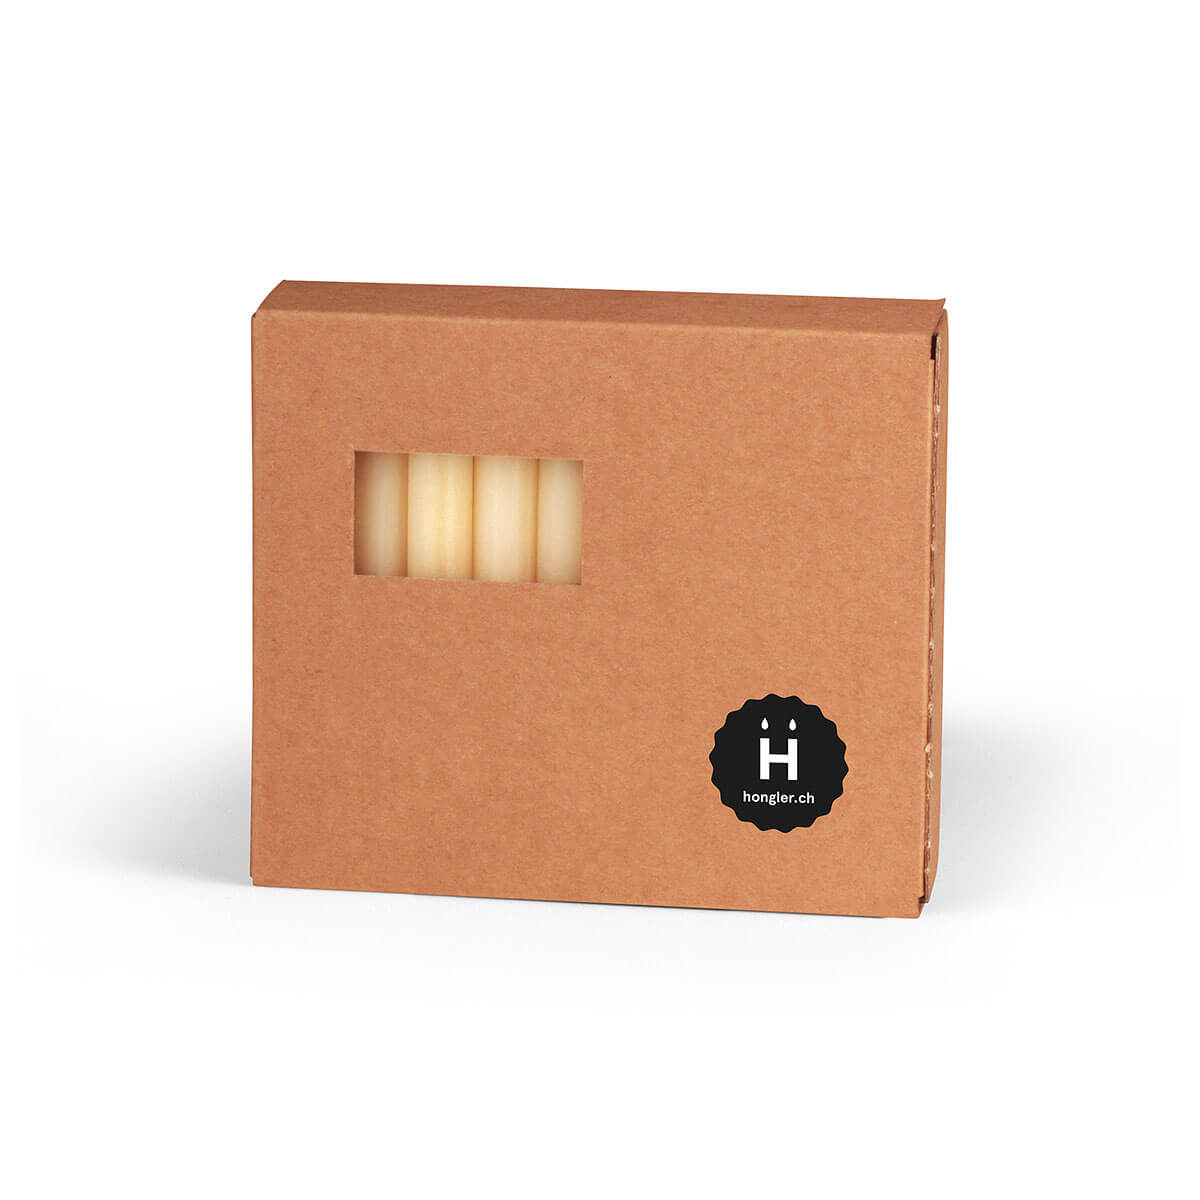
Art. 3285.11
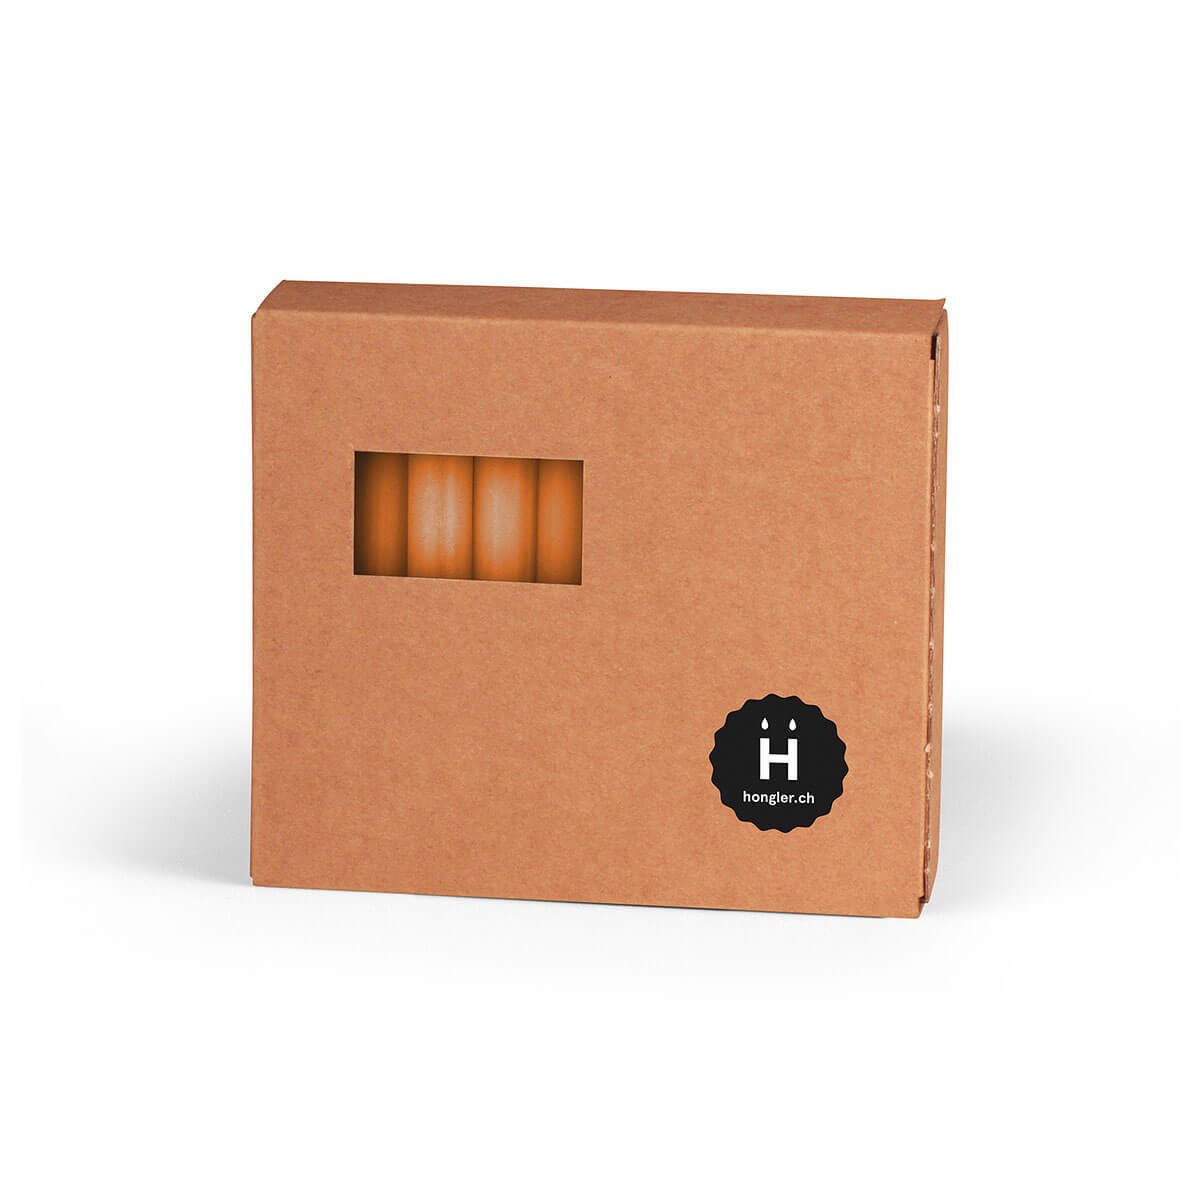
Art. 3285.25
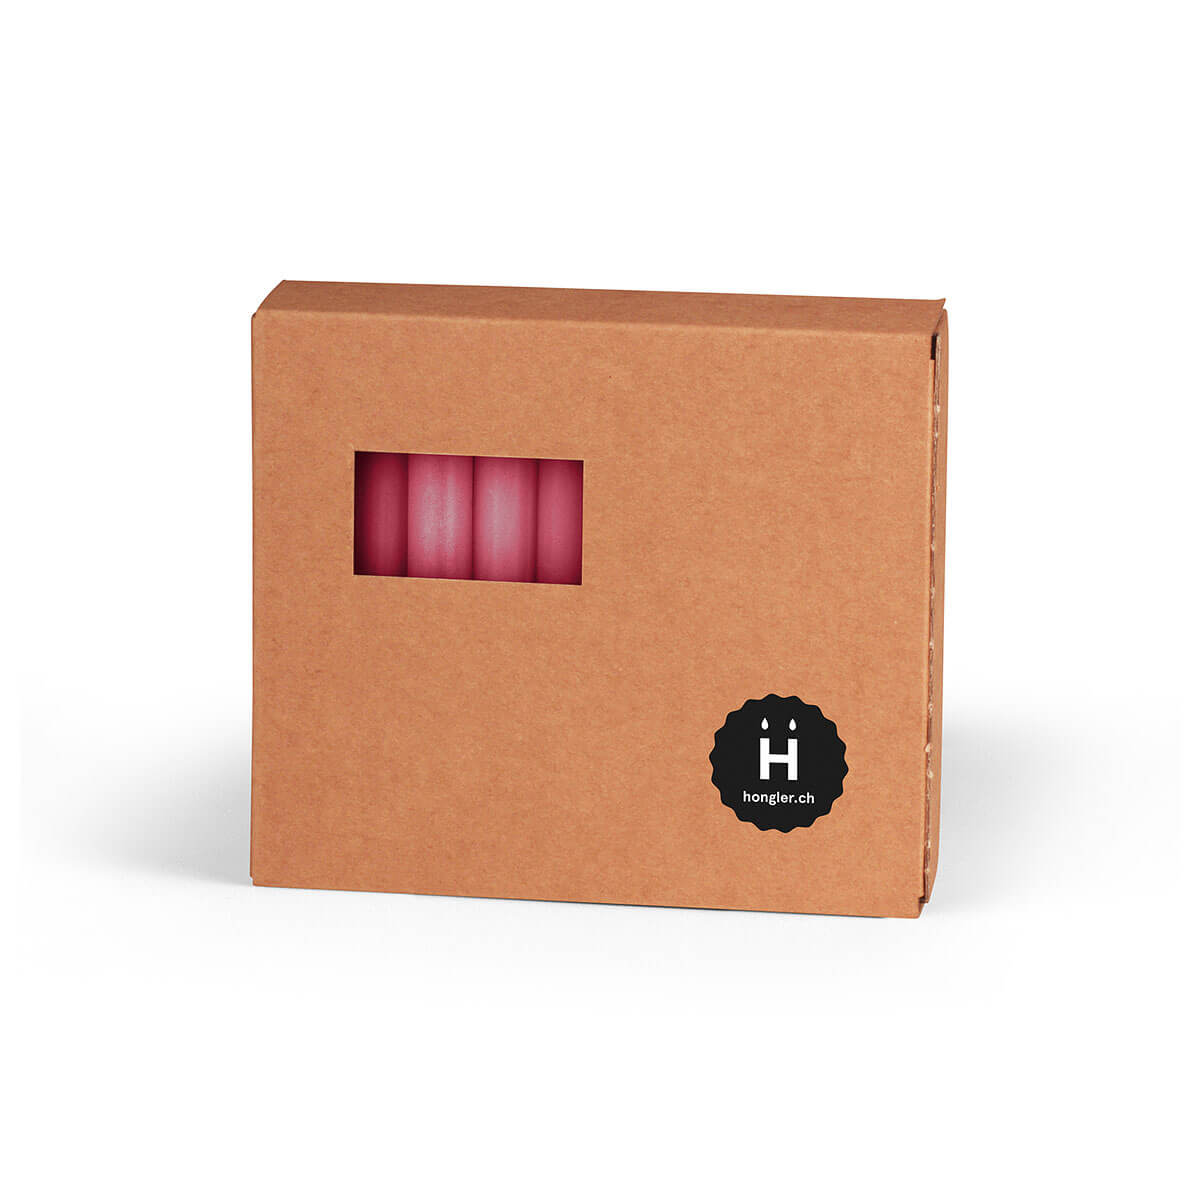
Art. 3285.33
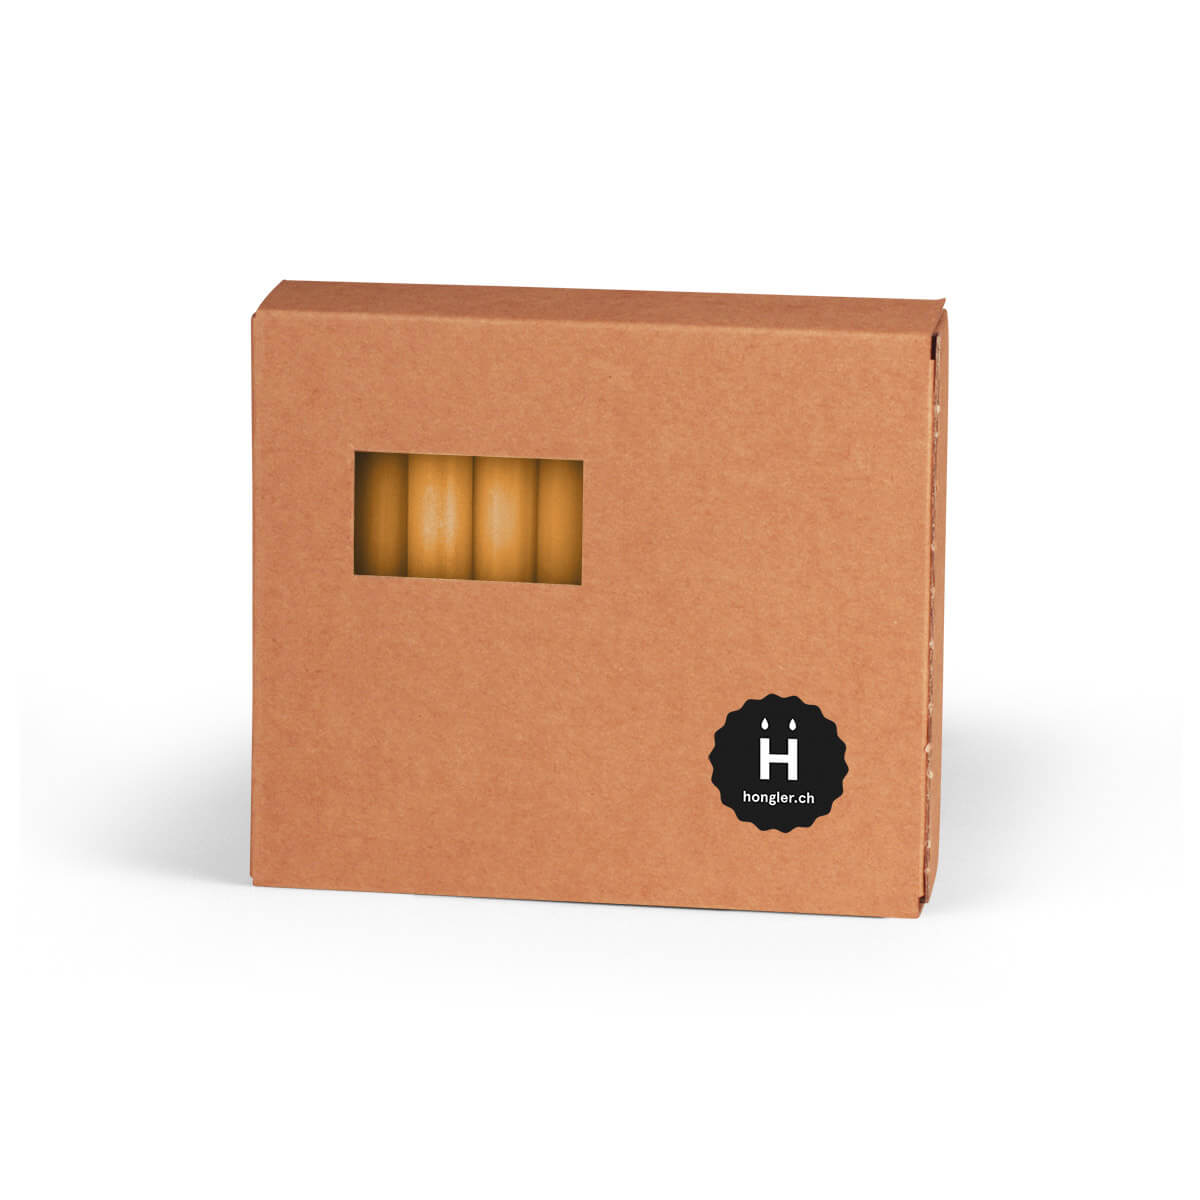
Art. 3285.43
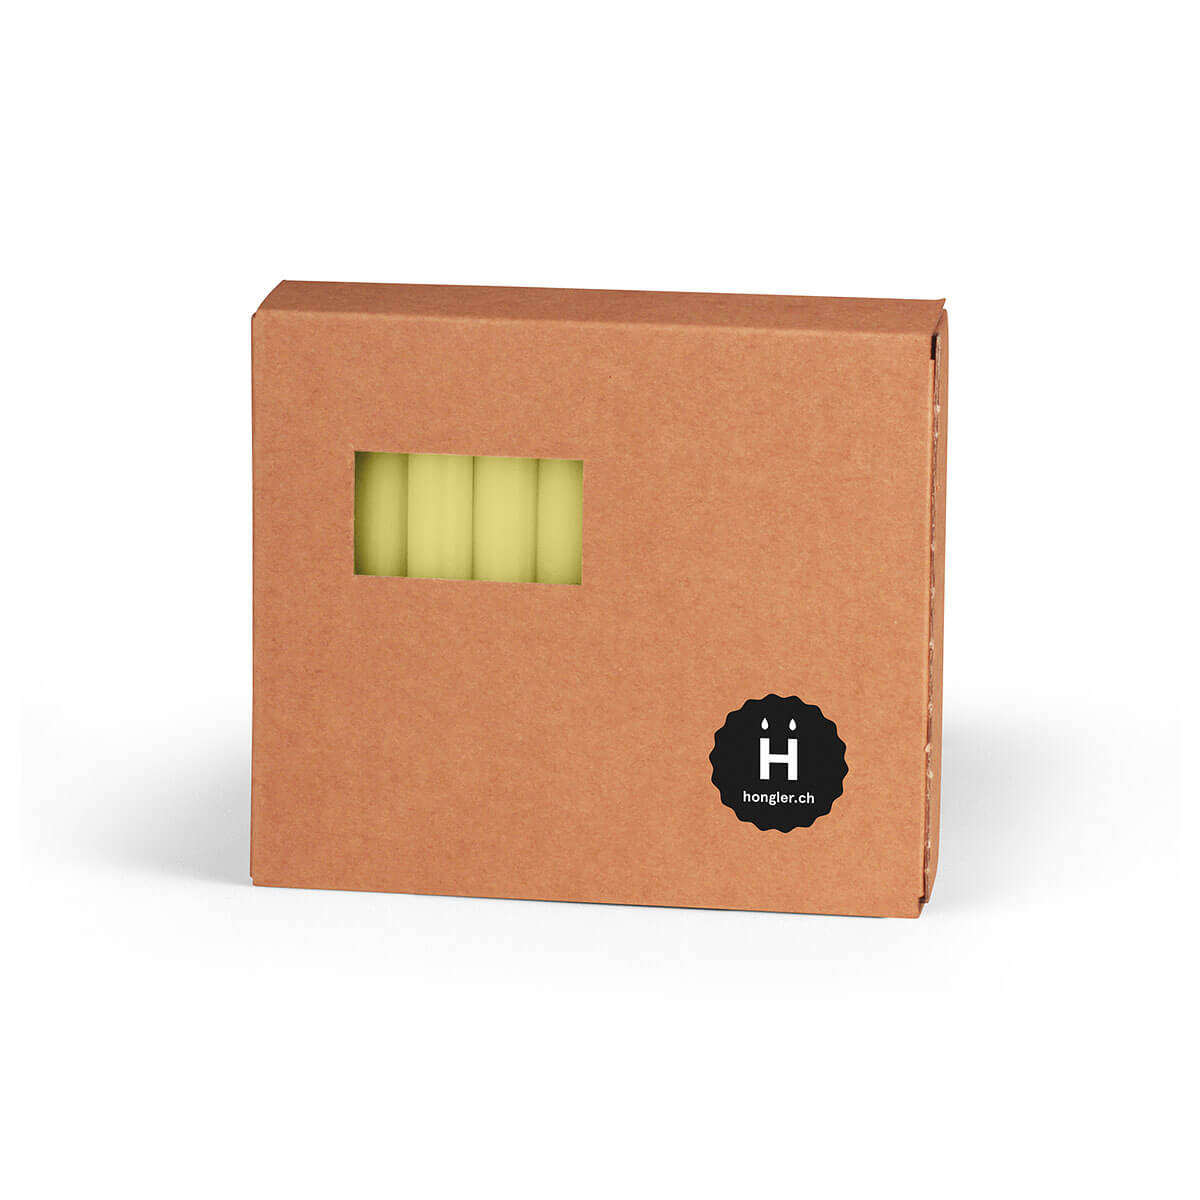
Art. 3285.28
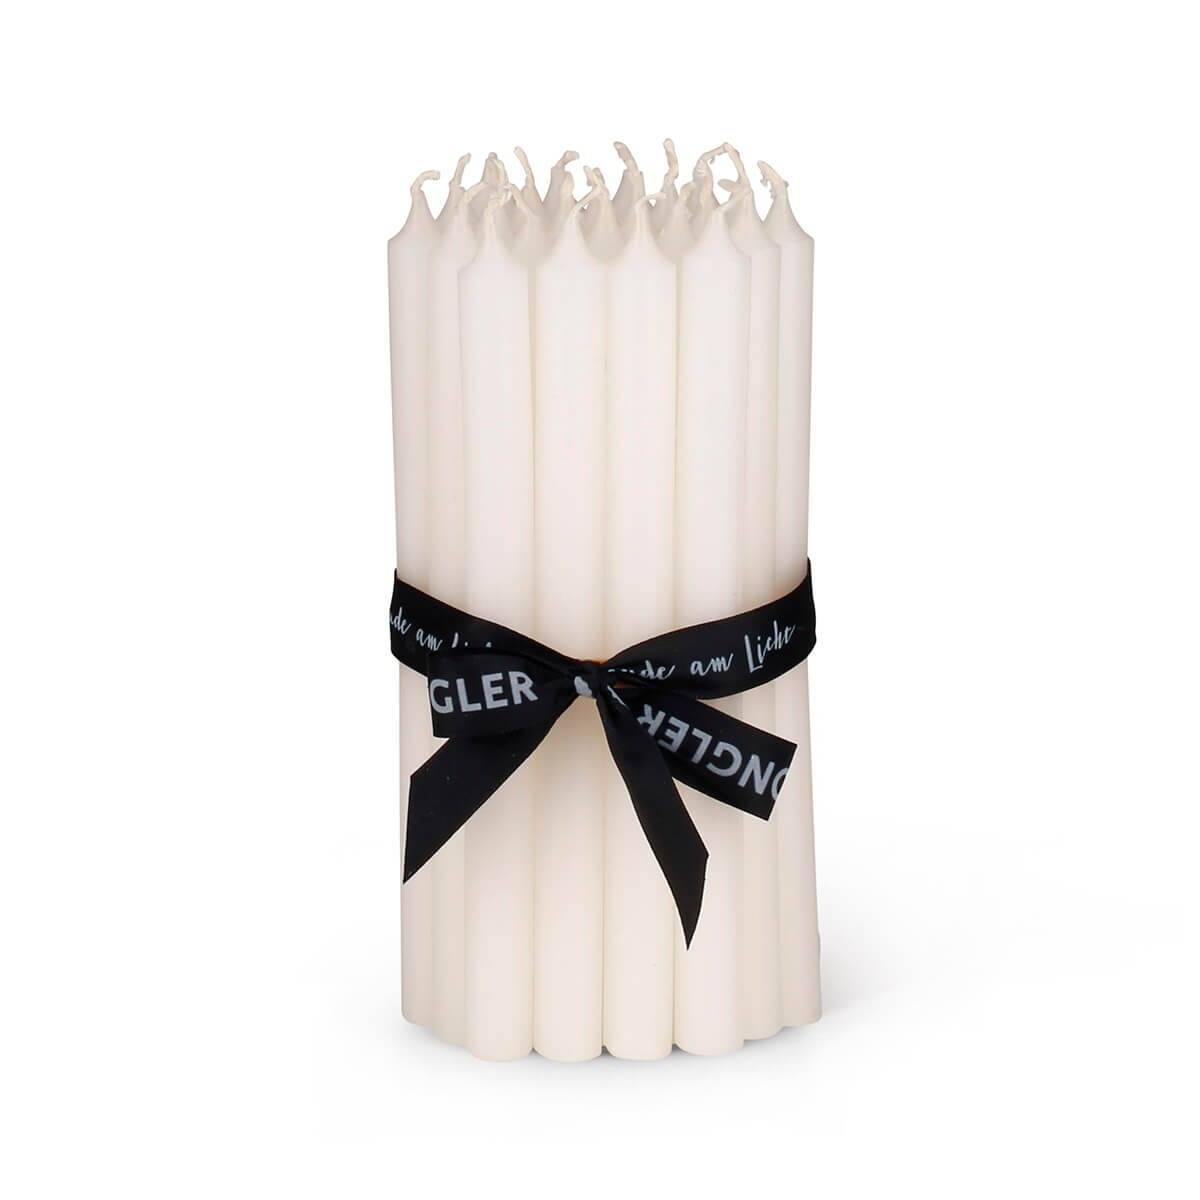
Art. 10239
General helpful tips
- Place modelling clay in a plastic bag immediately after unpacking to prevent it from drying out.
- When rolling out and cutting out the clay, use a non-stick, stable plastic mat – this makes it easy to remove the star-shaped candle holders.
- Keep some spare modelling clay on hand for touch-ups: dampen the area, apply the clay and smooth it out.
- Smooth surfaces and edges with a wet finger.
- Leave to dry – do not speed up the process (no oven, no direct sunlight), otherwise cracks will form. - The larger the object, the greater the risk of cracking.
Barbara shows you how to cut out Christmas-themed star-shaped candle holders from self-hardening clay.
Step-by-step guide
Step 1
Roll out the modelling clay to a thickness of approx. 10 mm on a non-stick plastic surface. Two 10-mm rolling pins will help you maintain the correct thickness.
Step 2
Cut out the stars and leave the cutters in the modelling clay until they are dry. This ensures the stars retain their shape.
Step 3
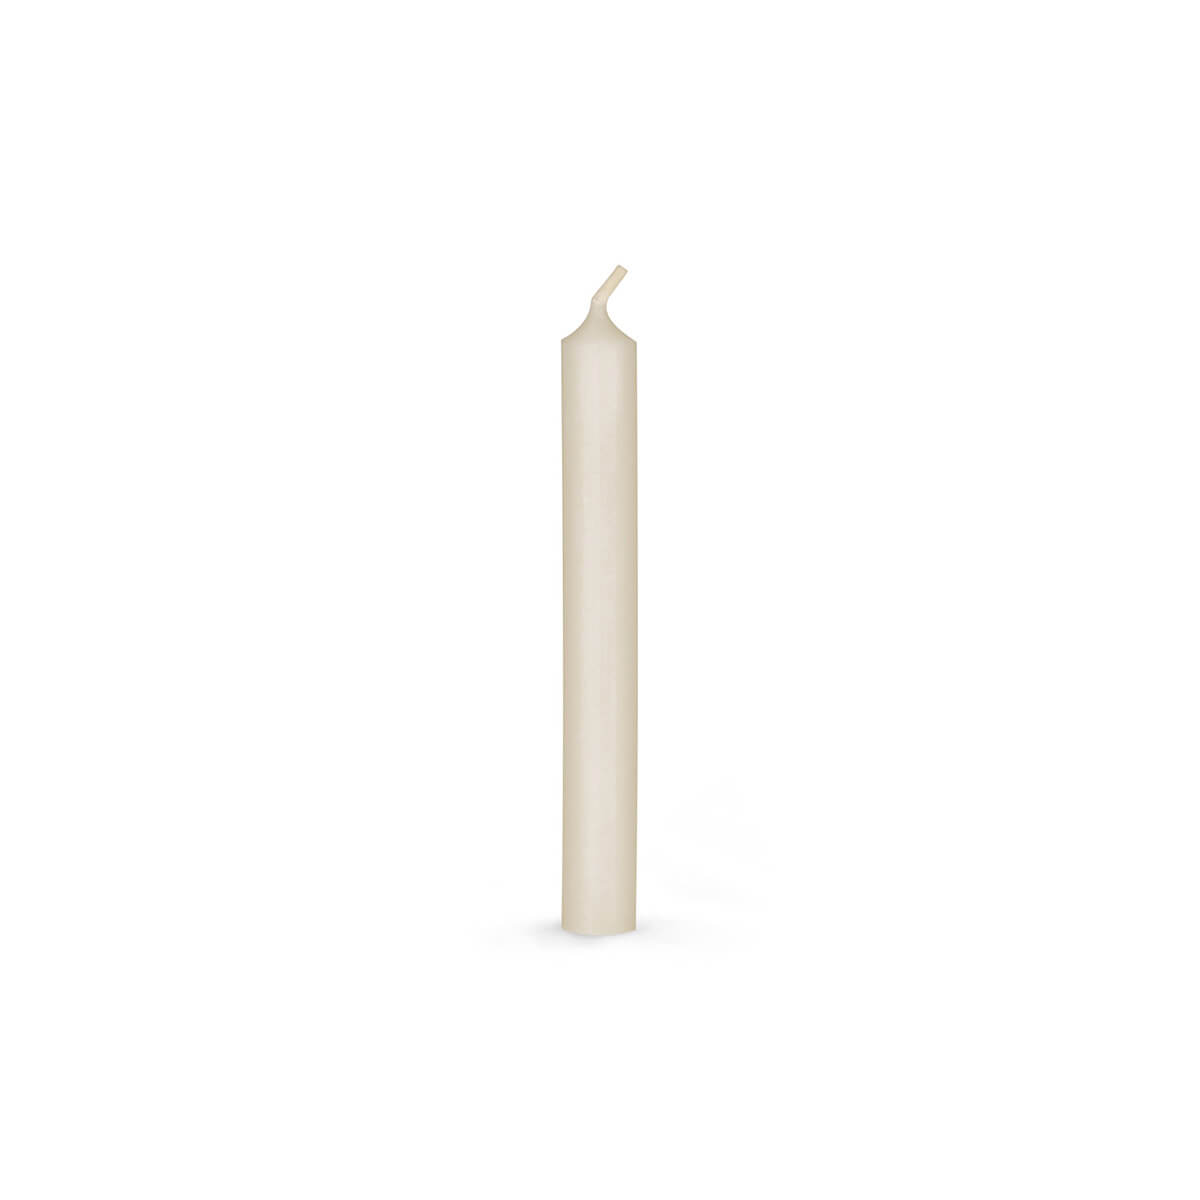
Lightly dampen the base of a Christmas tree candle and use it to press a hole in the centre of each star.
Step 4
Leave the stars to dry in the cookie cutter for approx. 30–36 hours.
Important: Do not place in direct sunlight or on a radiator – otherwise the modelling clay may crack.
Step 5
Carefully press the dried stars out of the mold from the bottom upwards. Gently pull the cutter apart as you do so to help the star come away more easily.
Step 6
If necessary, repair small cracks with fresh modelling clay. Then smooth the edges and surfaces with sandpaper or a nail file.
Art. 12015
Art. 12151
Art. 3285M

Art. hoba0043
Art. 3326
Art. hoba9134
Art. 10239
Art. 3325
Art. 5483.26